Monday 16 March 2020

Landmark

We've known for years that there was something fishy about the beam that ran across the middle of the kitchen ceiling. When we rebuilt the back of the house, we realized that one end was supported by a pair of L brackets, one of which was lag-bolted into a truncated 2 by 7 stud that rested on a doorframe made of 3/4 inch pine!
We finally placed 6 by 6 posts under the beam.
This is (obviously) the chimney end. We had to demolish a section of the wall in the hallway opposite the bathroom to insert the other post--a bit of a step backward, but necessary. It was no joke threading this through the wiring. I had to lift it slightly above the beam and then drop it into place; the sill is slightly lower than the floor. Still--all's well that ends well!

Saturday 14 March 2020

Beam Ends

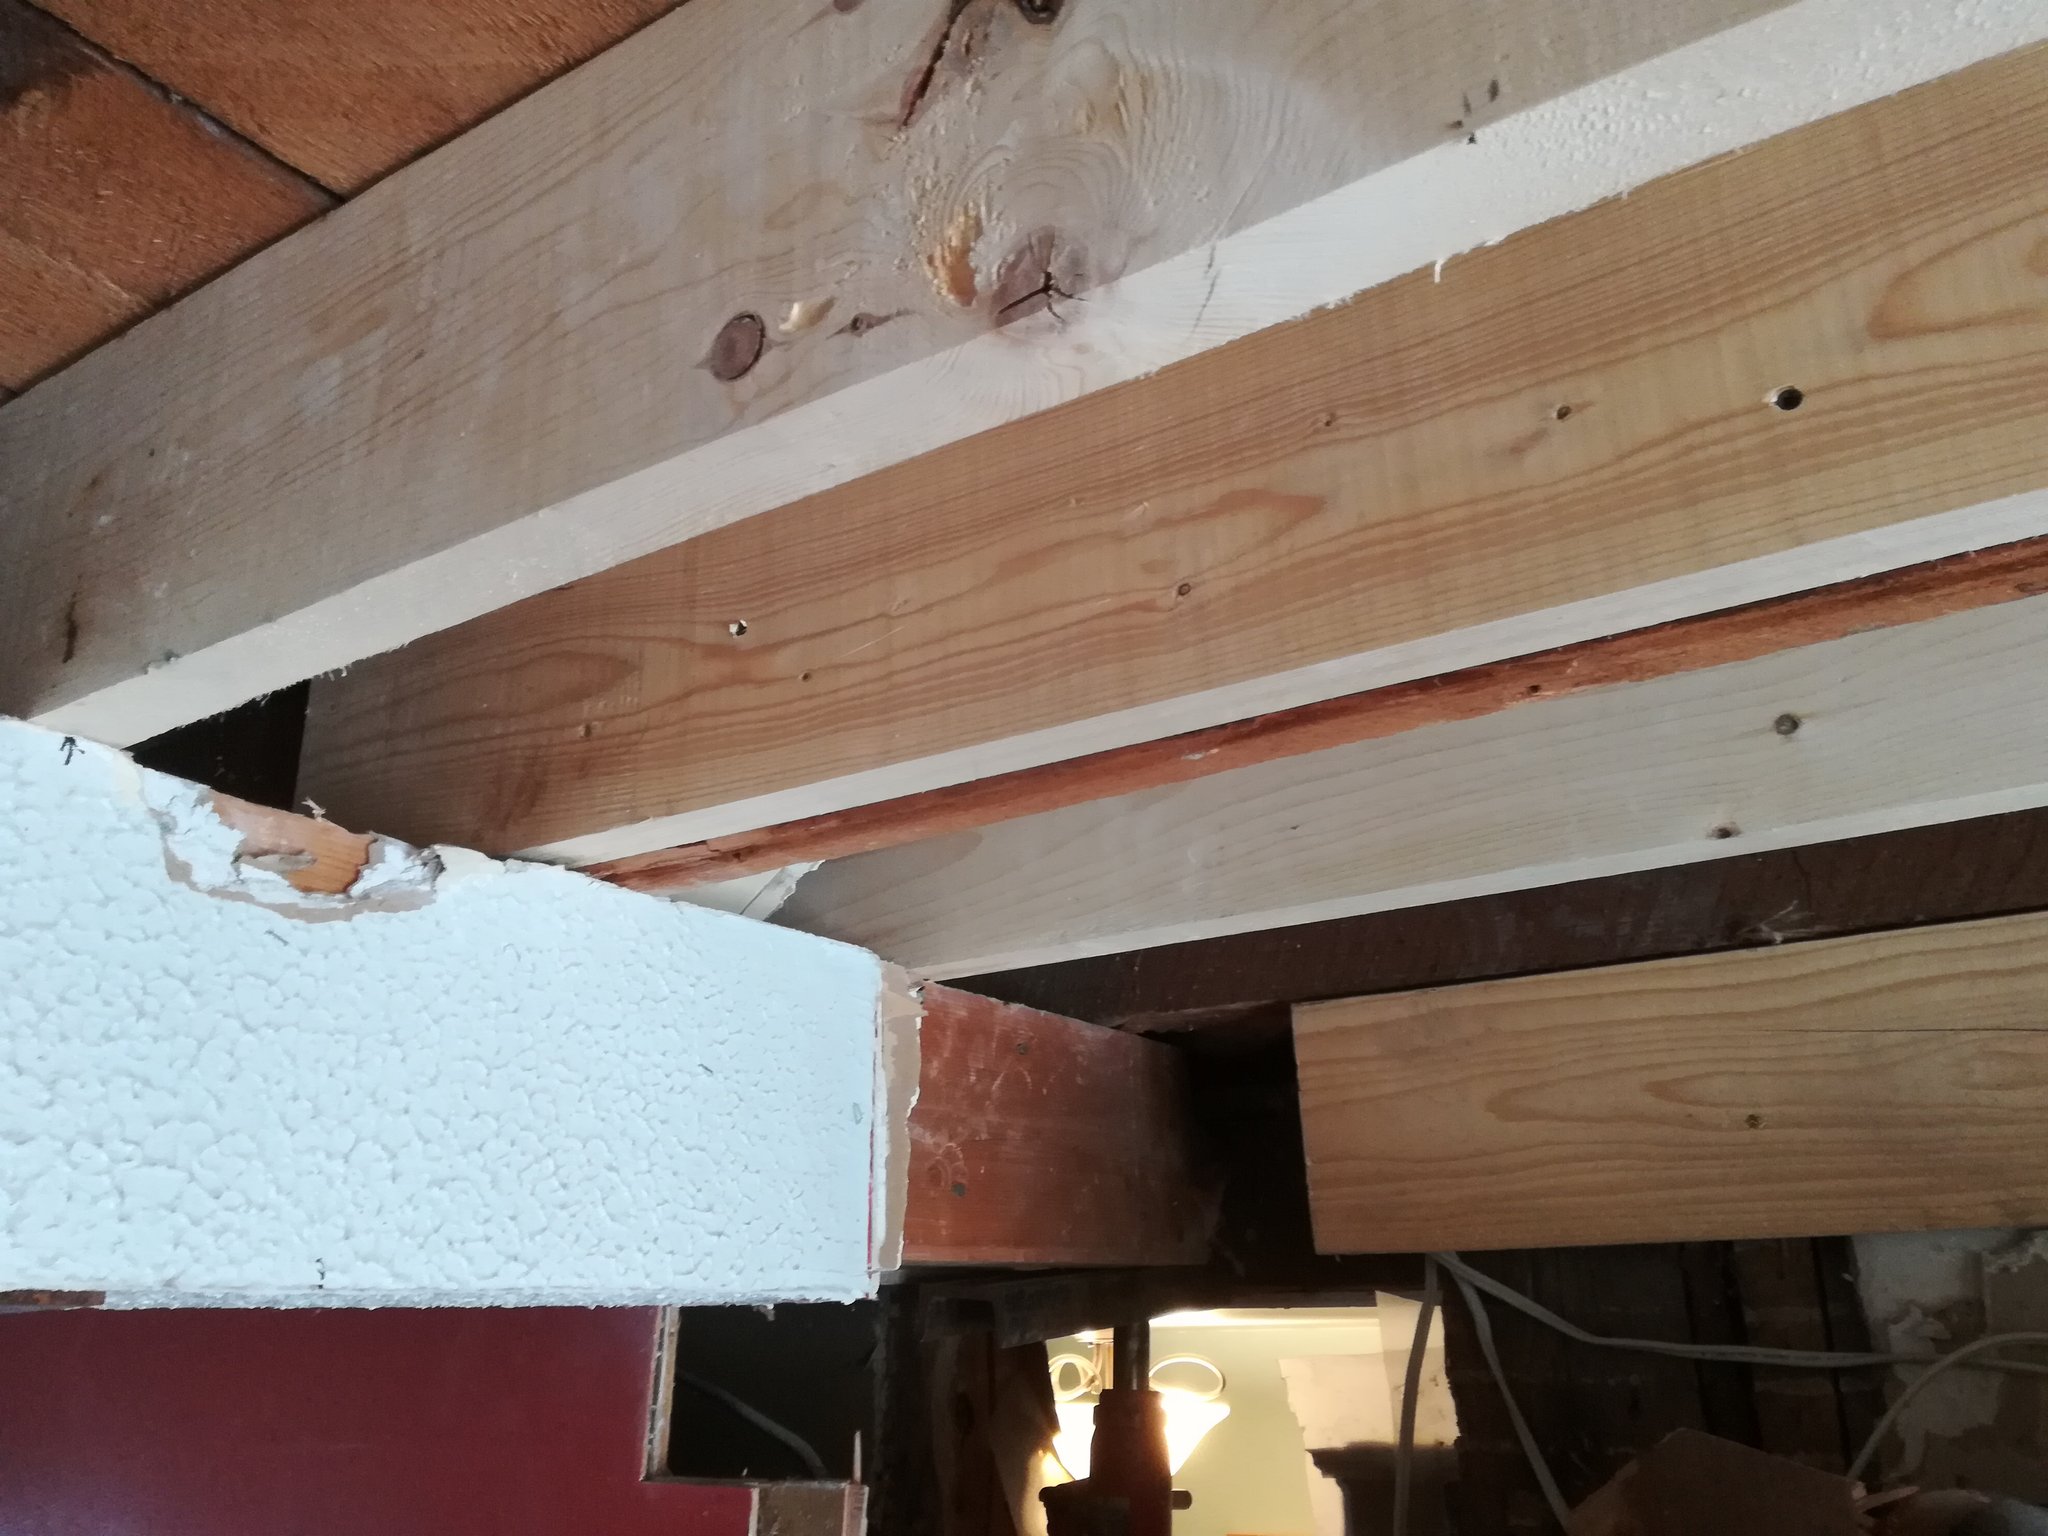
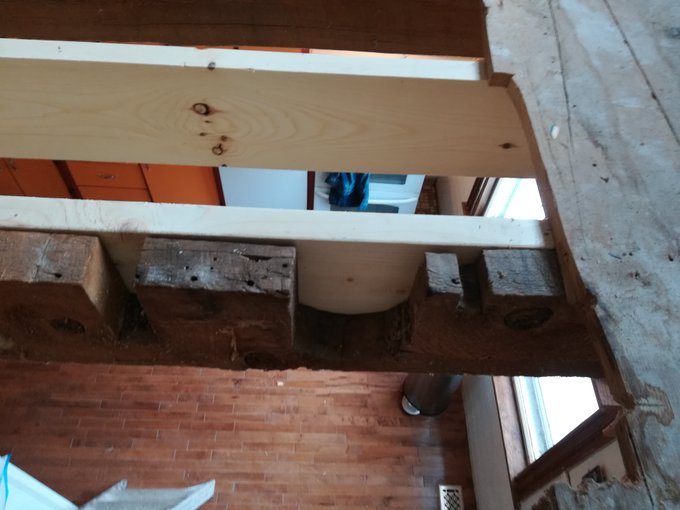
We should not have been surprised, after finding, years ago, that one end had very little support, that the other had none. Revisiting the end of the beam hidden in the wall, I discovered some points I had missed originally. As on the kitchen end, the supports were metal brackets, one fairly solidly lag-bolted to an original post, but the other attached to stub of a stud which rested on an unheadered door casing: just a 3/4 inch piece of board. I placed a post under this, but above was a cradle of hardwood (which burned very well in the woodstove) which had tipped so much it carried no weight at all. On top of all of that, two ceilings intervened between the beam and the joists, so the whole bag of tricks was quite worthless. Now we're jacking the beam up with a piston jack directly under it. I'll then take the weight with another post/jack combo in front of the sink, with another below it in the cellar for temporary support. Then I'll ease a 6 by 6 into the position occupied by the present jackpost (after cutting away some obstructions). Easy peasy!
Image

Thursday 12 March 2020

When in a Hole...


There comes a moment in every project when you begin to suspect you've bitten off more than you can chew. The key point here, however, is not the enormous hole in the bathroom floor that provides a good view of the kitchen, but a detail in the middle foreground: this joist, which once sustained the toilet, has been notched almost completely through in two places to accommodate the brass (left) and cast iron (right) drains. When we started, there were six original joists under the bathroom, two or three in very bad shape. We added nine.
Image

Thursday 5 March 2020

Header

For the first time ever, the bathroom window has a header. There was a lot of cutting out, and we'll definitely have to re-sheathe this wall in the summer, but it's a start.
Image